
Your insurance claim is only as strong as the evidence behind it. After a storm damages your home, the quality and completeness of your documentation directly determines whether your claim gets approved, how much coverage you receive, and how quickly the process moves forward. Most homeowners take a few quick photos and assume that is enough. It is not. Insurance carriers evaluate claims based on specific criteria, and the homeowners who document thoroughly and strategically consistently receive better outcomes. This guide shows you exactly what to capture, how to organize it, and why this step must happen before you call your insurance company.
Why Documentation Must Come Before the Insurance Call
When you call your insurance carrier to file a storm damage claim, the conversation is recorded and your statements become part of the claim file. If you say something inaccurate, vague, or incomplete because you have not yet fully assessed the damage, it can work against you later. The carrier will ask about the type and extent of damage, when you discovered it, and what steps you have taken. If your answers are uncertain or inconsistent with what the adjuster later finds, it creates friction in the process. By documenting first, you call your insurance company armed with specific, detailed, accurate information that sets the tone for a smooth and well-supported claim.
Phase 1: Exterior Photo Documentation
Start outside and work systematically around your entire property. Do not skip any area, even if it looks undamaged at first glance.
Roof (From Ground Level)
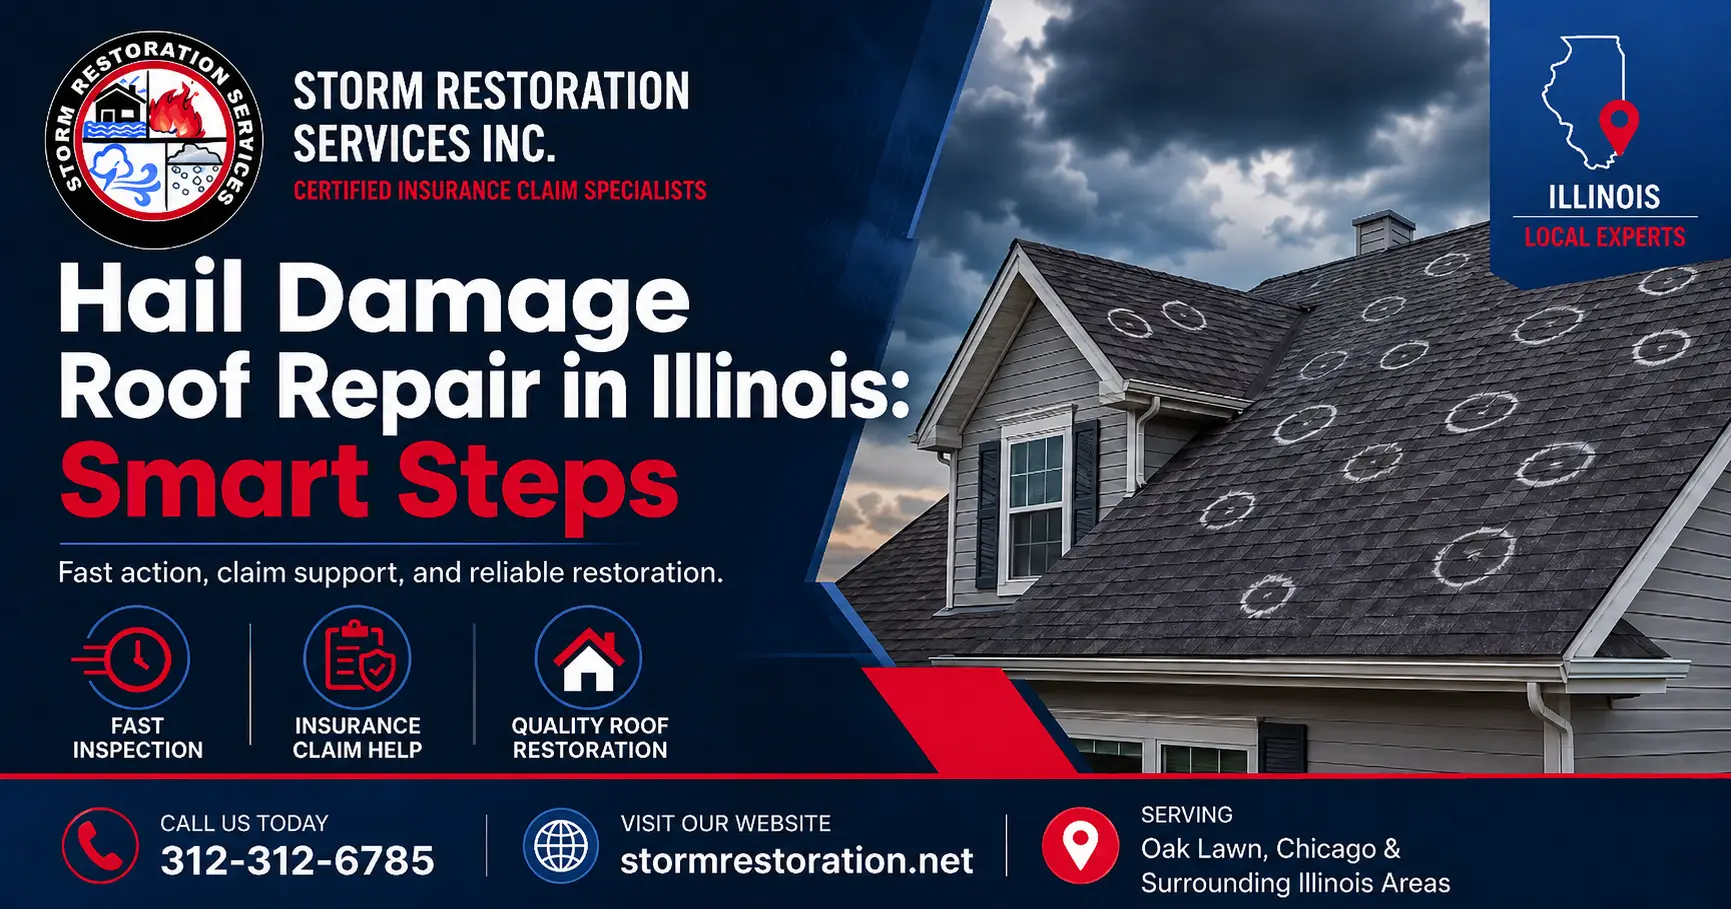
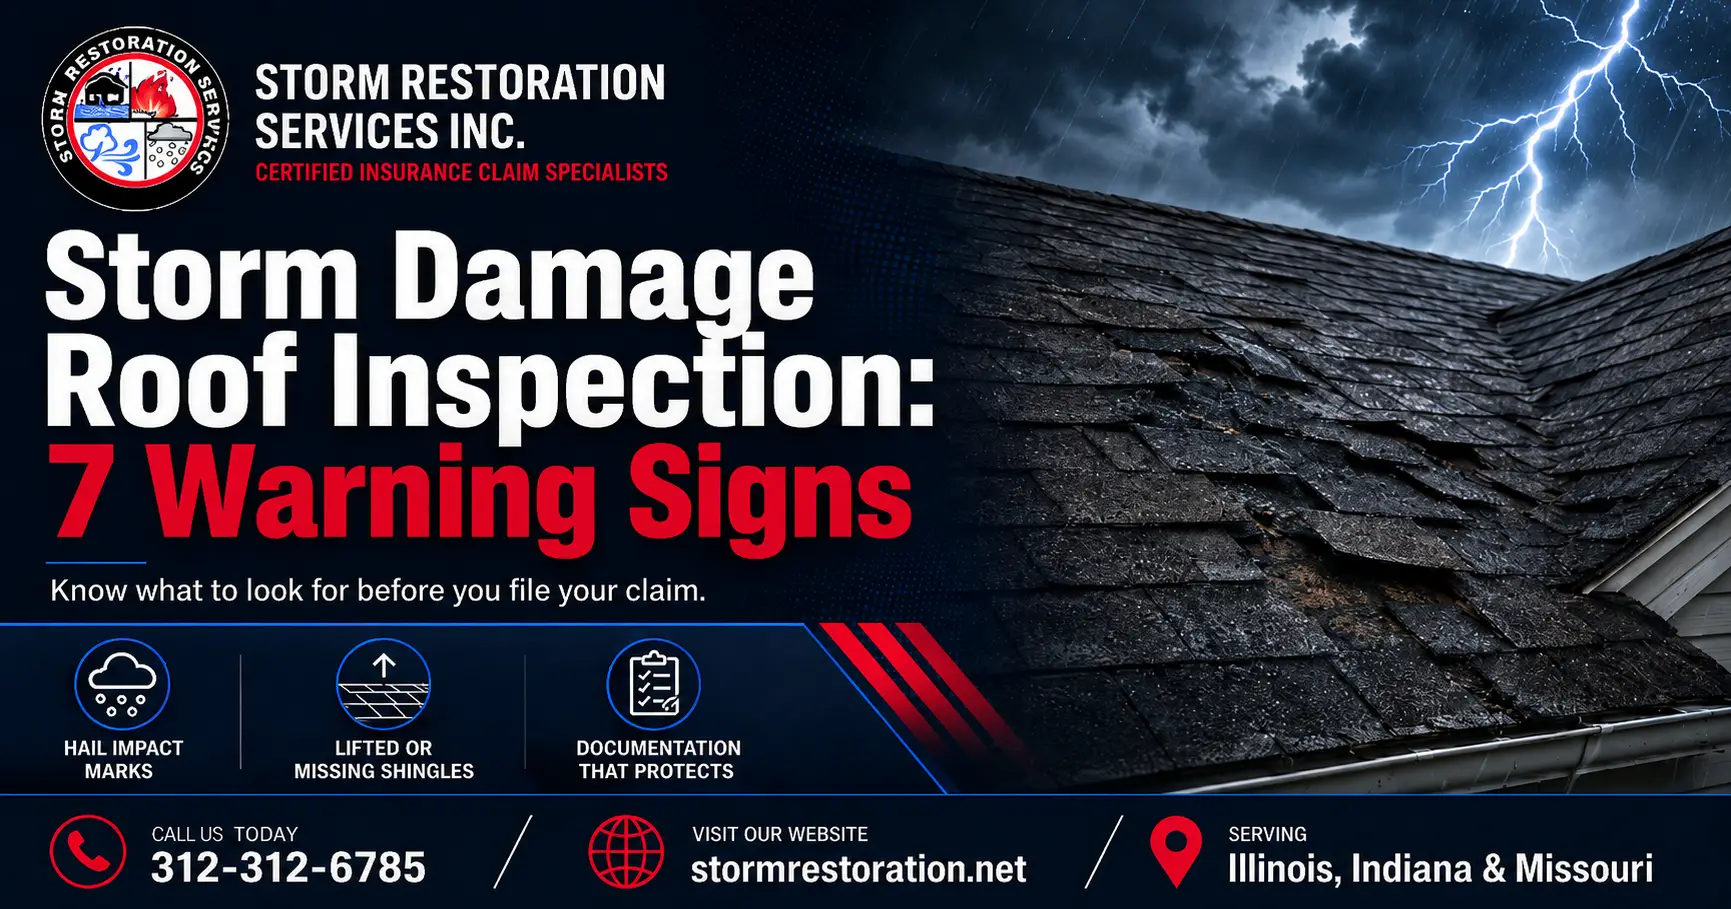
Photograph all four sides of your roof from the ground using your smartphone camera at maximum zoom. Look for missing shingles, displaced shingles, exposed underlayment, and visible debris. Capture any areas where the roof line looks uneven or where shingle edges appear lifted. You do not need to climb onto the roof; a professional inspector will handle the close-up assessment safely.
Gutters and Downspouts
Walk along every section of your gutter system. Photograph dents, bends, sections that have pulled away from the fascia, clogged downspouts, and any areas where water is visibly not draining correctly. Take close-up shots of hail dents in the gutter channel. If granules, the sandy protective coating from your shingles, have accumulated in your gutters, photograph that as well, as it indicates shingle damage on the roof above.
Siding, Fascia, and Soffit
Inspect all four sides of your home. Photograph cracked, dented, punctured, or missing siding panels. Check fascia boards behind the gutters for cracks, rot, or separation. Look up at the soffit panels under your roof overhang for holes, hanging sections, or visible damage. For a deeper understanding of why these components matter, read our guide on why gutters, siding, fascia, and soffit matter after a windstorm.
Other Exterior Elements
Document damage to fences, decks, window screens, garage doors, outdoor HVAC units, mailboxes, outdoor lighting, vehicles, and landscaping. Each of these supports the overall narrative of storm severity and strengthens your claim.
Phase 2: Interior Documentation
Move inside and inspect every room, paying special attention to upper floors and rooms directly below the roof line. Photograph water stains on ceilings and walls, noting their size and location. Capture bubbling or peeling paint, which indicates moisture behind the surface. Look for water pooling on window sills or around window and door frames. Check the attic if you can safely access it, looking for daylight coming through the roof deck, wet insulation, and any signs of water intrusion. Photograph everything, even if the damage seems minor. Small water stains often indicate much larger problems in the roof structure above.
Phase 3: Environmental Evidence
This is the phase most homeowners skip entirely, and it is one of the most valuable parts of your documentation package. Save screenshots of the National Weather Service storm alerts for your specific area and date. Screenshot local radar images showing the storm cell over your location. Save local news reports or social media posts about storm damage in your neighborhood. If hailstones landed on your property, photograph them immediately next to a ruler, coin, or other reference object for scale. This environmental evidence establishes that a covered weather event occurred at your specific location on a specific date, directly linking the damage to the storm.
Phase 4: Create a Written Damage Log
Photos and videos are powerful, but a written log adds context that images alone cannot provide. Create a simple document or note on your phone that includes the date and approximate time of the storm event, the date and time you discovered each area of damage, a written description of each damaged component including its location, the type of damage, and the approximate size or extent, any temporary repairs you have made such as tarping an exposed area, and a chronological timeline of events. This written log demonstrates that you were diligent, thorough, and responsive, all qualities that insurance carriers view favorably when evaluating claims.
Phase 5: Call a Professional Before You Call Insurance
Your documentation provides the foundation. A professional storm damage inspection provides the expert layer that transforms your claim from a homeowner’s best guess into a certified damage assessment. A certified inspector will identify damage you cannot see from the ground, provide professional-grade documentation that meets insurance carrier standards, create a scope of work that accurately reflects the full extent of restoration needed, and attend the adjuster meeting to advocate for complete and accurate coverage. At Storm Restoration Servicess, this professional inspection is free. We serve homeowners across Illinois, Indiana, and Missouri, and our certified claim specialists have guided thousands of homeowners through successful claims. For the complete walkthrough of what happens after documentation, read our guide on the storm damage insurance claim process.
Document First. File Second. Get Covered.
The homeowners who document thoroughly and file strategically consistently receive better claim outcomes. Your phone, your attention to detail, and a certified storm damage inspector are your most powerful tools. Storm Restoration Servicess provides free inspections and expert claim support for homeowners across Illinois, Indiana, and Missouri. Let us help you turn damage into a fully covered restoration.
Schedule your FREE storm damage inspection today. Visit stormrestoration.net
Certified Storm Damage & Insurance Claim Specialists.
Serving Illinois | Indiana | Missouri
Oak Lawn, IL | St. Louis, MO